🤖PWM Controls-Scratch
Mantis Code
MantisCode is a browser-based software, that’s based on the Scratch programming language. With MantisCode, you can connect to MantisEDU sensors for data collection and other experiments.
Using MantisCode does not require any software to be installed. The user must simply have access to an internet connected device that runs a modern web browser that supports WebBluetooth. Most modern web browsers support this, with the exception of Safari on MacOS, and Firefox. Google Chrome or Edge are recommended for best results. Mobile browsers are not typically not supported.
To access MantisCode, visit https://mantiscode.azurewebsites.net/app/.
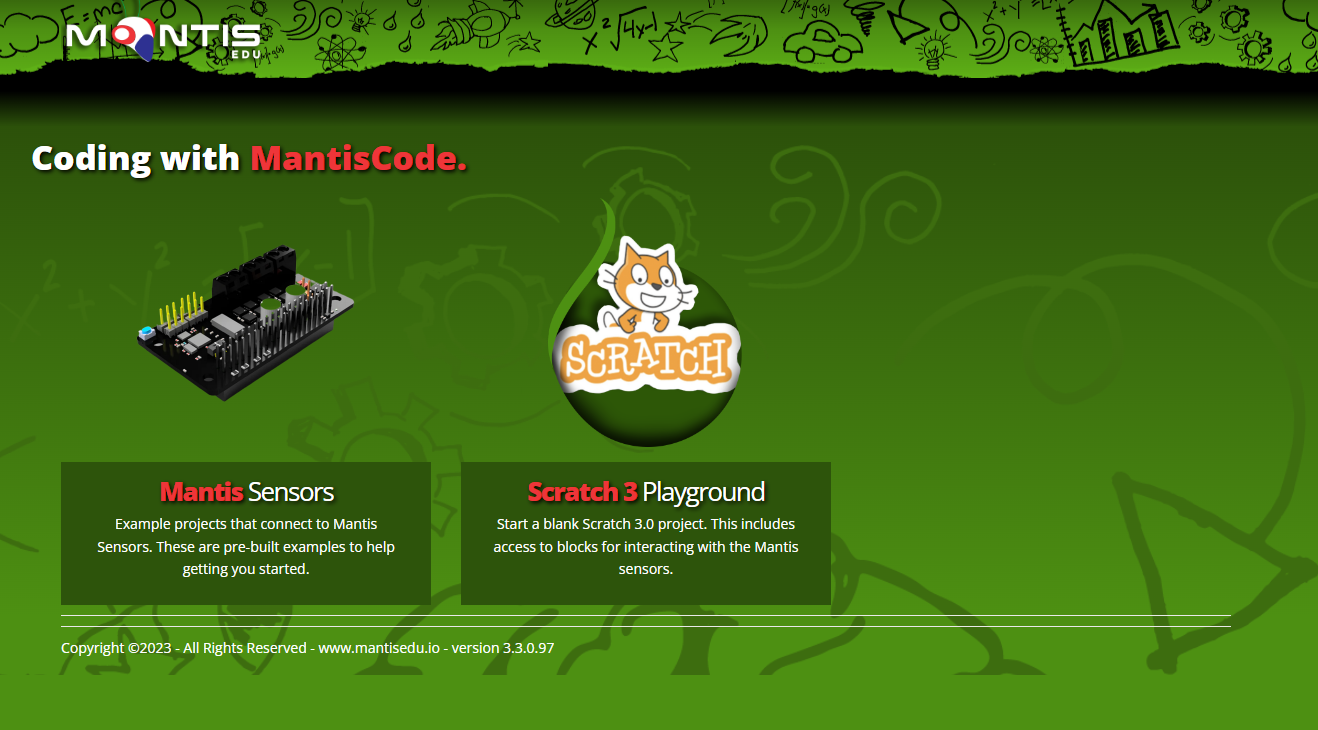
From the home page, click on Mantis Sensors to access the sensor of interest.

To get access to the sample lessons and examples for the Rovor, navigate to the Mantis Motor Hat section.
Once you find an example you want to explore, click on the load project button to open the program. For instance, click the PWM Motor Control Example.

Once the program is loaded, click on the green flag to start.
Connect Sensor
The Mantis Rover kit allows you to build and program using Scratch, a block-based programming language that is easy to learn and use. With the Mantis Rover, you can explore the world of robotics and learn how to code, while having fun building and controlling your robot.
One of the unique features of the Mantis Rover's is it's Motor Hat Control board. This board is powered by is its Bluetooth connectivity. With Bluetooth, you can wirelessly control your robot and send commands to it using your computer or mobile device. This means that you can program your Mantis Rover to perform a variety of tasks, such as navigating through a maze, or avoiding obstacles.

To connect with the Mantis Rover, you will need to use the connection sprite that is included in the project. After turning on the Motor Hat, press the Green Flag to connect with the Rover. If the Motor Hat was already powered, simply toggle the power button to allow for the device to be reconnected to by your program.
Once connected, you can start coding your robot and see it come to life!

Once you press the green flag, the screen will change to say Scanning of Device.

Once you press the connection button on the Motor Hat, the Device will start to broadcast to allow for the program to connect. Upon a successful connection, you program will update to say “Connected.”

Condition Based Logic based on Sensor Values
Scratch uses visual blocks or "Scratch blocks" to represent different commands and actions. These blocks can be dragged and dropped onto a workspace to create programs or scripts. Scratch blocks come in different colors and shapes, and each block represents a specific action or command that can be used to create interactive stories, games, and animations.
One of the features of Scratch that makes it easy to use for beginners is the use of loops and conditionals. Loops are blocks that allow you to repeat a certain set of actions multiple times. For example, you can use a "repeat" loop to make a sprite move back and forth across the screen multiple times. The loop will continue to run until a certain condition is met, such as a specific number of times or until a certain amount of time has passed.
Conditionals, on the other hand, are blocks that allow you to create different paths or outcomes based on a certain condition. For example, you can use an "if-else" block to create a program that reacts differently depending on the user's input. If the user clicks on a certain button, the program will do one thing, and if they click on a different button, the program will do something else.
In Scratch, loops and conditionals are represented by specific blocks that you can drag and drop onto your workspace. By combining these blocks with other Scratch blocks, you can create complex programs that can respond to user input, interact with other objects on the screen, and perform a variety of actions.
Events allow for you to trigger an action based on a user input, or program event.
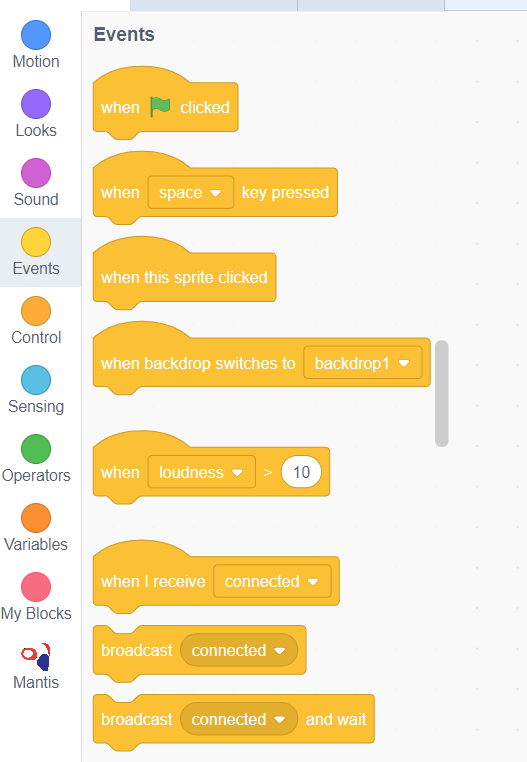
Overall, Scratch blocks are a powerful tool that can be used to create a wide range of projects and programs. By exploring the different types of blocks and experimenting with different combinations, you can gain a better understanding of how programming works and how you can use it to bring your ideas to life.
Loops are available under the controls section of the interface.

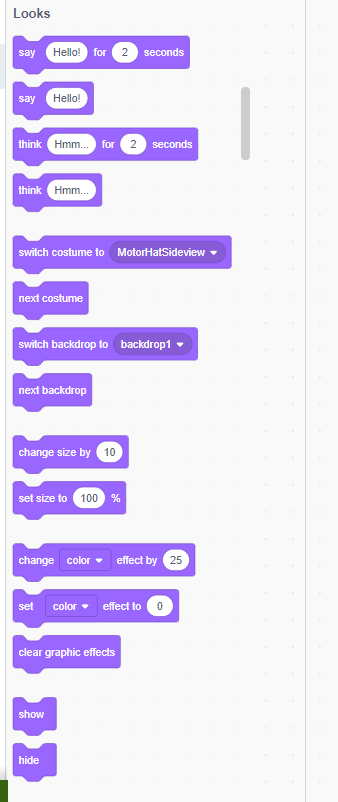
The "looks" blocks in Scratch are a set of programming blocks that allow you to change the appearance of sprites (characters or objects) in your Scratch project. The looks blocks can be found in the "Looks" category in the Scratch block palette.
Some common looks blocks include:
1. The "say" block: This block allows you to make a sprite say something. You can enter the text you want the sprite to say directly into the block, or you can use a variable or other block to generate the text dynamically.
2. The "show" and "hide" blocks: These blocks allow you to show or hide a sprite on the screen. For example, you might use the "hide" block to make a sprite disappear when it reaches a certain point on the screen.
3. The "switch costume" block: This block allows you to change the costume (or appearance) of a sprite. You can add multiple costumes to a sprite and use this block to switch between them.
4. The "change size" block: This block allows you to change the size of a sprite. You can make the sprite larger or smaller by entering a value into the block, or you can use a variable or other block to change the size dynamically.
Overall, the looks blocks in Scratch give you a lot of control over the appearance of your sprites, which can help you create engaging and visually appealing projects.
Controlling Robot using commands
Now that we have a basic understanding of Scratch and the Motor Hat, we can start introducing coding commands to control the board.
The robot uses a set of programming blocks in Scratch that allow you to precisely control each of its motors and overall movement. The primary blocks for movement are located in the Mantis category in the Scratch block palette.
The main movement block allows you to set the speed and duration for each motor individually. Each motor (Motor 1, Motor 2, Motor 3, and Motor 4) can be assigned a speed value and, in some cases, a duration. The speed value can range from -100 to 100, where 100 represents full speed forward, -100 represents full speed backward, and 0 stops the motor.
You can also use the Set Motor block, which lets you select a specific motor from a dropdown (Motor 1 through Motor 4) and assign it a speed. This allows for more precise control, such as turning, steering, or running only one motor at a time.
By combining motor speed values across multiple motors, you can control the robot’s direction:
Setting both drive motors to positive speeds moves the robot forward.
Setting both drive motors to negative speeds moves the robot backward.
Running one motor while stopping or reversing another allows the robot to turn.
Setting all motor speeds to 0 stops the robot completely.
These motor control blocks can also be used together with sensor blocks, such as distance sensors, to program the robot to move, stop, or change direction automatically based on its environment.

This command would move Motors 1 and 2 in the reverse direction at speed -100 while keeping Motors 3 and 4 stopped when the down arrow is pressed.

This command would move all motors the reverse direction at speed -100 when the up arrow is pressed.

This command would move motors 1 and 2 forward while moving motors 3 and 4 backwards when the right arrow is pressed.
To test these blocks, click this link to load a sample project, https://mantiscode.azurewebsites.net/app/scratch3/index.html?project=ROV_Controls2.sb3. After connecting your board, use the arrow keys to see how your motors react to the various actions. Change the speed values to see how they impact the motors.
Last updated